Imagizine (aumega) 2015 text oriented workshop
peeyooshkammath@ymail.com
Give the unlocking key (nothing is default). Then click the
tick button.
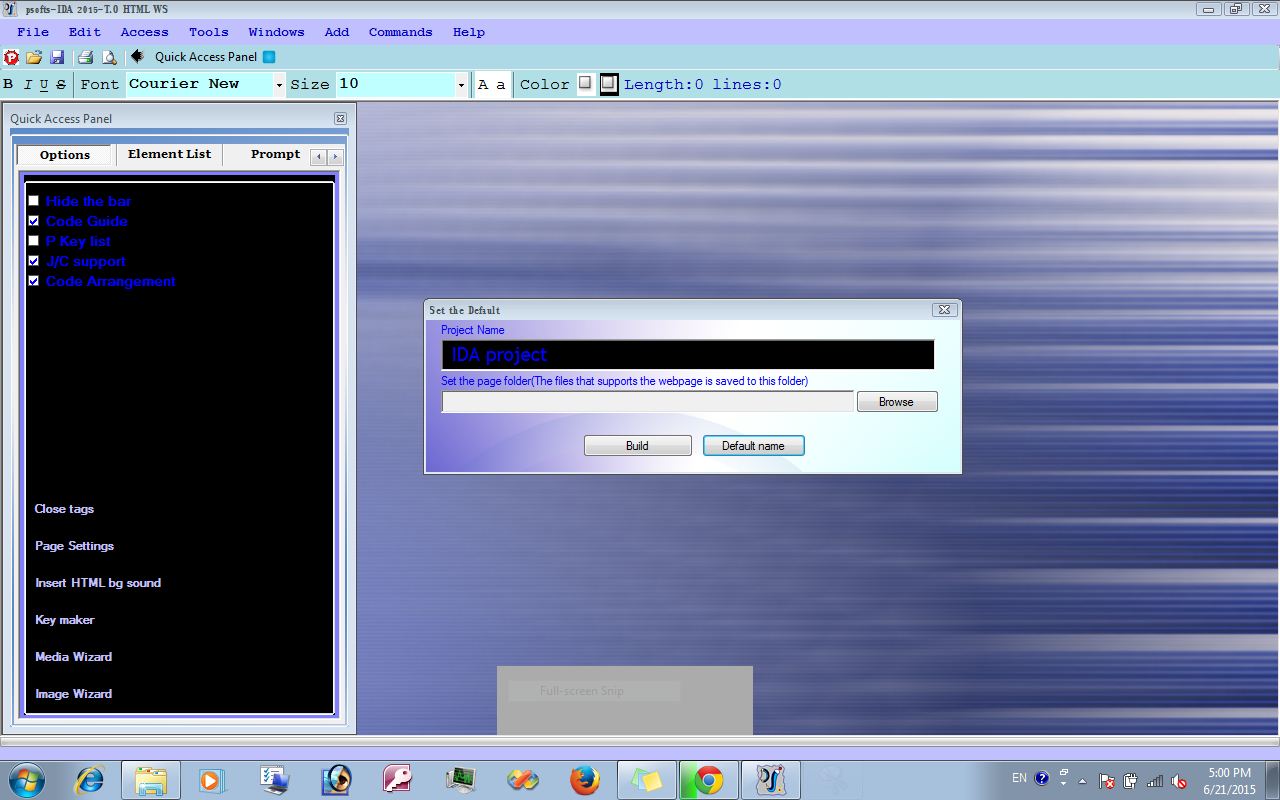
Click the browse button and select a folder to save the
components of the project.
If you want to set a default filename click the default name
button and give a filename with extension. A window titled main editor is
opened.
There is an important factor that does not open the
main editor in a series of loading new windows of editor pads. Because the main
editor is a support base editor and it may affect the coding of web page
programs.
There are two tag bars situated below the editor. It carries
a selection tooling. i.e. First you
should select a word or line of text and then click on a text on the tag bar.
The tag bar contains formatting and scripting options.
You can make java script or CSS files with Style sheet pads
from the tag bar (pencil and palette button) or from the access menu. To access
the window go to Access->CSS pad. A window titled ‘Diff Script Pad’ appears
with text ‘make your style sheets here…’. You can take more windows by clicking
the N button. After the selection of this button you can see another window
titled ‘stype sheet pad: 1’ and go on.
QAP: go to access-> Quick Access Panel or from the
toolbar. This window contains 4 tabs. Options, element list, prompt and the tab
containing the project name. The option tab contains 6 Boolean options and 6
buttons. The checks provide to make temporary settings. The 6 buttons and its
use are…
Close tag-give a first version dialog to close the elements,
page settings-give a dialog to set the default folder and project options,
(component folder), page bgsounds-give access to insert the background sound
for the web page, key maker- to alter the unlock key for the startup.
Media and image wizards are used to insert images visually
by resizing it.
Element list tab contains classified list of HTML elements.
Prompt is allowed to perform a task on the software in the exception times. You
can insert the commands in the commands menu. Go to commands menu choose prompt
and select a sentence from the box then click add button.
To act as a simple note editor: go to QAP and click the full
screen check and click the maximize button of the editor. To come back to the
original position type the following keyword on the main editor, p>load-elem
and from the QAP deselect the full screen check.
Add menu contains 4 commands.
H script- hidden script. This is testing tool. It is used to
test another script in a hidden way. You can also save the H scripted web page
by clicking file-> export original after clicking the render button. To add
hidden script….
Create a h script(*.eps).
Example.
<input type=text name=t1>
<input type=button value=view onclick=dis()>
</body>
</html>
Then go to tools menu and select make script. Give a name
without extension. This file is saved to the component folder. Then clear the
editor or close the editor and take a new window of editor. And type
<html>
<head>
<script>
Function dis()
{
Alert(t1.value);
}
</script>
<body>
Then go to file and save and go to add h script. Select the
script from the component folder and open. Go to file and click render original
and then click export original. Input a name and click ok. Open the default
folder and you can see a file with the imputed name with number 1. Open it. Do
you see any changes in the document? If yes then this process is known as IDAH
scripting.
Script is the second command it helps to pin text file to
the current document.
Comment is the third command, it add comments to the
webpage.
Path is to add the given path. This helps to add the path of
any file or folder. Click path and select file or folder option and select the
wanted file or folder. If the option is file the prompt ask to save the path
file into the default directory. Name the original filename with extension and
click ok.
Table wizard:
This is a wizard to
make tables by inputting values in a step by step order. To do this select
access menu and table wizard or type ‘p.twiz’ command on the editor. The wizard
appears. Click the individual inputting check box. And click next button.
Fill the basic settings. Click the next button. In the data management section input the rows
and columns , you can see the no. of inputting in the left bottom corner (ex.
Rows 2 cols 1)
Then click the start button. Give a suitable caption. Cell
settings appear. This is the first table data cell. Input suitably. And click next.
Enter the table data using the input text window and click the blue colored
button. You will return back to the cell settings. Here is the next table data
cell. Input and click the next button and enter text. Assign header and footer
if you want and the final decision. If you want to modify use modify the table
and else click the modeling completed and click the finish button and enter
key.
Comments